DIY Happy Birthday Sign

I kind of hate the whole term "crafting" or "crafty" or "crafts." Thanks to the sorority world "crafting" has become a stereotypical pastime. I associate these words with new mommies or middle age women making burlap wreaths or detailed scrapbooks. You know what I mean? Those people who scour the aisles of Hobby Lobby and have a whole room devoted to "crafting." 

This isn't saying I don't like to be creative or making things with my hands, but the word "craft" just makes me squirmy inside. I like creative and well made things not crafty painted canvases with mushy gushy pinteresty quotes. Pardon my rant, moving on.

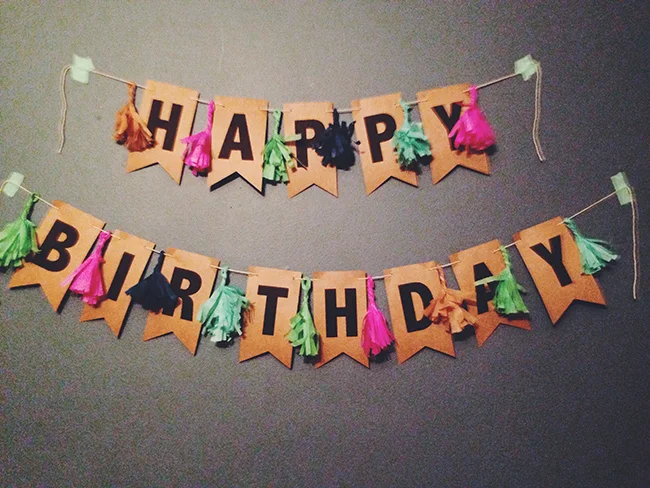
A couple of weeks ago was one of my roommate's 21st birthday and the house was in need of a little celebratory decorations! I came up with this little birthday sign and it just turned out so cute! 

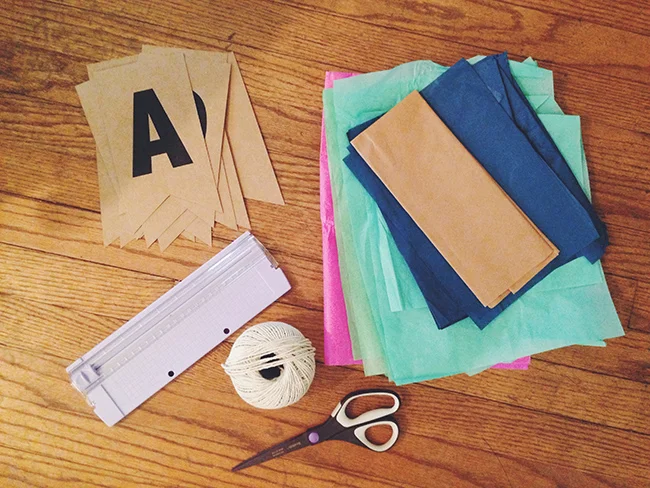
What You Need:
craft colored paper
paper cutter
scissors
hole punch
tissue paper
twine
printer

To Make:

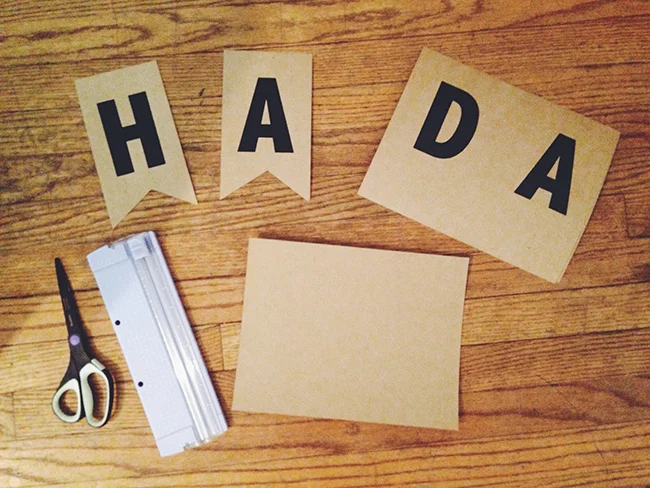
1. Create a word document with the page format in landscape. Using a bold block font in about a 450 pt. size type out whatever you want your sign to say. (Make the font large enough so two letters fit on each page).

2. Print your saying onto the craft paper. Trim each letter into a rectangle then angle the bottom to crate a pennant like design. Essentially just cutting a triangle out from the bottom.

3. Hole punch the top corners of each letter.

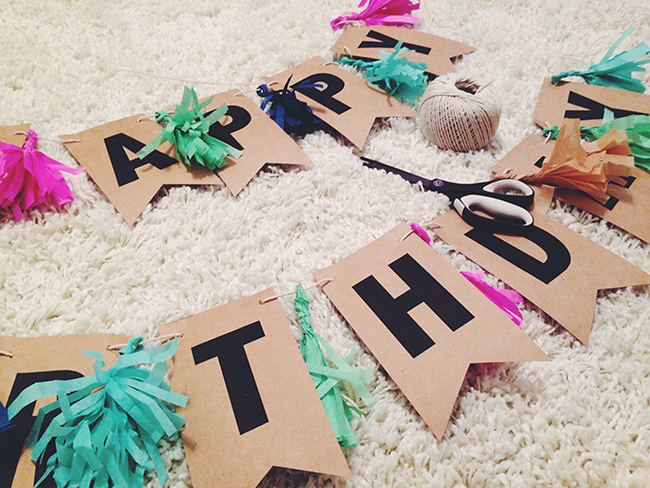
4. Using my instructions on how to make a tassel, create one to go between each letter. I cut my sheets of tissue paper in half to make mini tassels. 

5. Now that you have your letters and tassels string them on to your twine. You can make one long sign or split each word up like I did. See below.

So this isn't a craft, but instead a creative project! You can get even more creative and use this DIY for a holiday, or include someone's name, or for a shower or party! Use green and red for Christmas, orange and black for Halloween, etc. 

Annie

DIY Tassel Garland

I finally finished my tassel garland. This is a DIY I have had on my list for forever and I finally did it. I'm really making head way with my summer to-do list. I started at the beginning of the summer, but it was one of those things were I would sit down and work on in it for about 15 minutes then have to do something else. It really doesn't take that long I just never hat the time to sit down and do it!

I actually made two. One for my bedroom above my bed, and the other in our living room above the TV. I'm so happy with how they came out! I'm thinking about becoming a professional garland maker...maybe not, but I wouldn't mind.

Follow my steps below to learn how to make your own tassel garland!

Things you need:
tissue paper (any colors you want, I bought a huge multipack at Michael's)
scissors
twine

Step 1. Fold your tissue paper in half hot dog style. Then cut in half hamburger style.

Step 2. Take the folded end of your tissue paper and fold it down about one inch.

Step 3. Cut about 1/2 inch strips all the way up to where you folded the top down. Don't cut all the way to the seam, just to the bottom of the fold.

Step 4. Unfold your tissue paper and lay it out flat.

Step 5. Start to roll your tissue up. Roll it as tight as you can, but make sure you keep all the strips flared out to the sides. They tend to get twisted up once you start rolling.

Step 6. Once rolled up it should look something like this. Now twist the center so it is really tight.

Step 7. After you twist the center it should look like this. Take the center, with the two halves hanging down, and hold it with your pointer finger and thumb. Begin to twist the halves together. Keep holding with your pointer finger, so a little loop is created.

Step 8. Ta-da! One tassel down! 

Step 9. My garland used about 15 tassels, but feel free to make as many as you want. After all your tassels are done, lay them out in the order you want to string them. String the twine through the loops of your tassels, and that's it, tassel garland!

One of my garlands finding a place above my bed.

Annie