3-Bean Salad

IMG_2353.JPG

One of my best friends has been following a vegan diet for the past few months and claims she has never felt better. I eat vegetarian accidentally all the time and have tried eating vegan once before. There is a ton of information out there about the benefits of veganism, so I thought I’d challenge my self to eat plant based last week. I prepped some delicious overnight oats, and this delicious 3-bean salad, but dinner got away from me when I ended up at a new Dallas hot spot and dove into enchiladas completely forgetting about my “vegan” diet. OOPS!

IMG_2354.JPG

Anyway, back to this salad. I love beans, but I feel like they can get a bad rap. For vegans and vegetarians, beans are an incredible source of protein. Even for meat eaters, I think we should all love a bean now and then. There was a little sandwich spot at OU that my friends and I loved to go to. I’d almost always order a 1/2 sandwich and salad combo with my salad choice being their 3-bean salad. It wasn’t a popular opinion amongst my fellow 20 year olds, but I loved the kidney bean, green bean and chickpea salad they served.

I’m going down a rabbit hole and I’m not surprised if I lost you, but if you are still here, I’m basically just here to tell you that this 3-bean salad is great. Great for lunch balanced with some berries or apple on the side, would be great as a side at a barbecue or could even make a great dip with Fritos or tortilla chips kind of like a Texas Caviar situation.

IMG_2357.JPG

3-Bean Salad
yields about 4, 1 cup servings

Ingredients:
1 -15 oz can black beans, rinsed and drained
1-15 oz can kidney beans, rinsed and drained
1-15 oz can chickpeas, rinsed and drained
1 1/2 cup grape tomatoes, quartered
1/4 cup finely chopped red onion
1/4 cup chopped cilantro
1 avocado, cubed
2-3 Tbsps. olive oil
Juice of 1 lime
Salt and pepper to taste (I use a decent amount)

In a large mixing bowl add first six ingredients. If serving immediately add avocado. If serving later, wait to add avocado until time to eat. Add in olive oil, lime juice and salt and pepper. Stir to combine. Serve as an entree with fruit, a side dish or with chips for a dip!

Store in an airtight container in the fridge. Will stay good for 5-7 days (without avocado). I take this salad as lunch and divide amongst 4 of my favorite jars and take 1/4 of an avocado with me to add day of right before I eat.

IMG_2358.JPG

Annie

2 Ingredient Shakshuka: MY Go-To Clean Out The Fridge Meal

IMG_2250.jpg

I pride myself on clean out the fridge meals. It’s honestly shocking what I can do with a near empty fridge. My mom can attest to this. Anytime I’m over she’ll say “oh we have nothing to eat!,” but a few minutes later and I have some kind of loaded salad situation or a plate of nachos. My past roommates could say the same.

Today’s meal is exhibit A of me having nothing but a few eggs in the fridge and no effort to go to the store. I first started making this meal a couple years ago when I lived with my roommate at the time, Kenzie. She had a half empty bottle of marinara, I had two eggs, and we had an abundance of basil growing in the backyard. Enter: shakshuka.

IMG_2252.JPG

Shakshuka originates from North Africa, made often with tomato sauce seasoned with cumin, paprika, chilis, garlic, and nutmeg. My version lends itself more Italian thanks to a jar of pre-made marinara and some basil. I call it 2-ingredient because all you need are eggs and sauce, but if you have some basil and red pepper flakes your dish will have a little more pizzazz. Oh, and salt and pepper don’t count in the number of ingredients, don’t @ me.

IMG_2248.jpg

2 Ingredient Shakshuka
yields 1 serving (can easily be doubled to serve 2, see not below)*

Ingredients:
1 cup marinara sauce
2 eggs
salt and pepper
optional: fresh basil and red pepper flakes

Directions:
In an 8-inch or omelet size pan, heat your marinara over medium heat for 1 minute. Using a small spatula, create 2 wells in the sauce that you can crack the eggs into. Crack and carefully lower egg into each well. Continue to cook over medium for 5 minutes. Then cover with a lid and cook for one minute to finish cooking the whites. Immediately remove from heat to avoid over cooking the yolks.

Sprinkle the top with a little salt and pepper, red pepper flakes and fresh basil if you have it. Grab a fork and a placemat or towel to set your hot pan on, and enjoy straight from the dish!

*If you are making for 2, I find a cast iron skillet to be the perfect size pan for twice the sauce and 4 eggs. Once cooked, scoop into shallow bowls and serve with crusty bread and a green salad for a complete meal.

IMG_2247.jpg

**Disclosure, you do not need to reserve this meal for simply cleaning out the fridge. It’s perfectly acceptable to buy a new jar of marinara and a new carton of eggs just for this recipe!

Annie

Verde Chicken + Black Bean Cauliflower Rice Bowl

IMG_2105.JPG

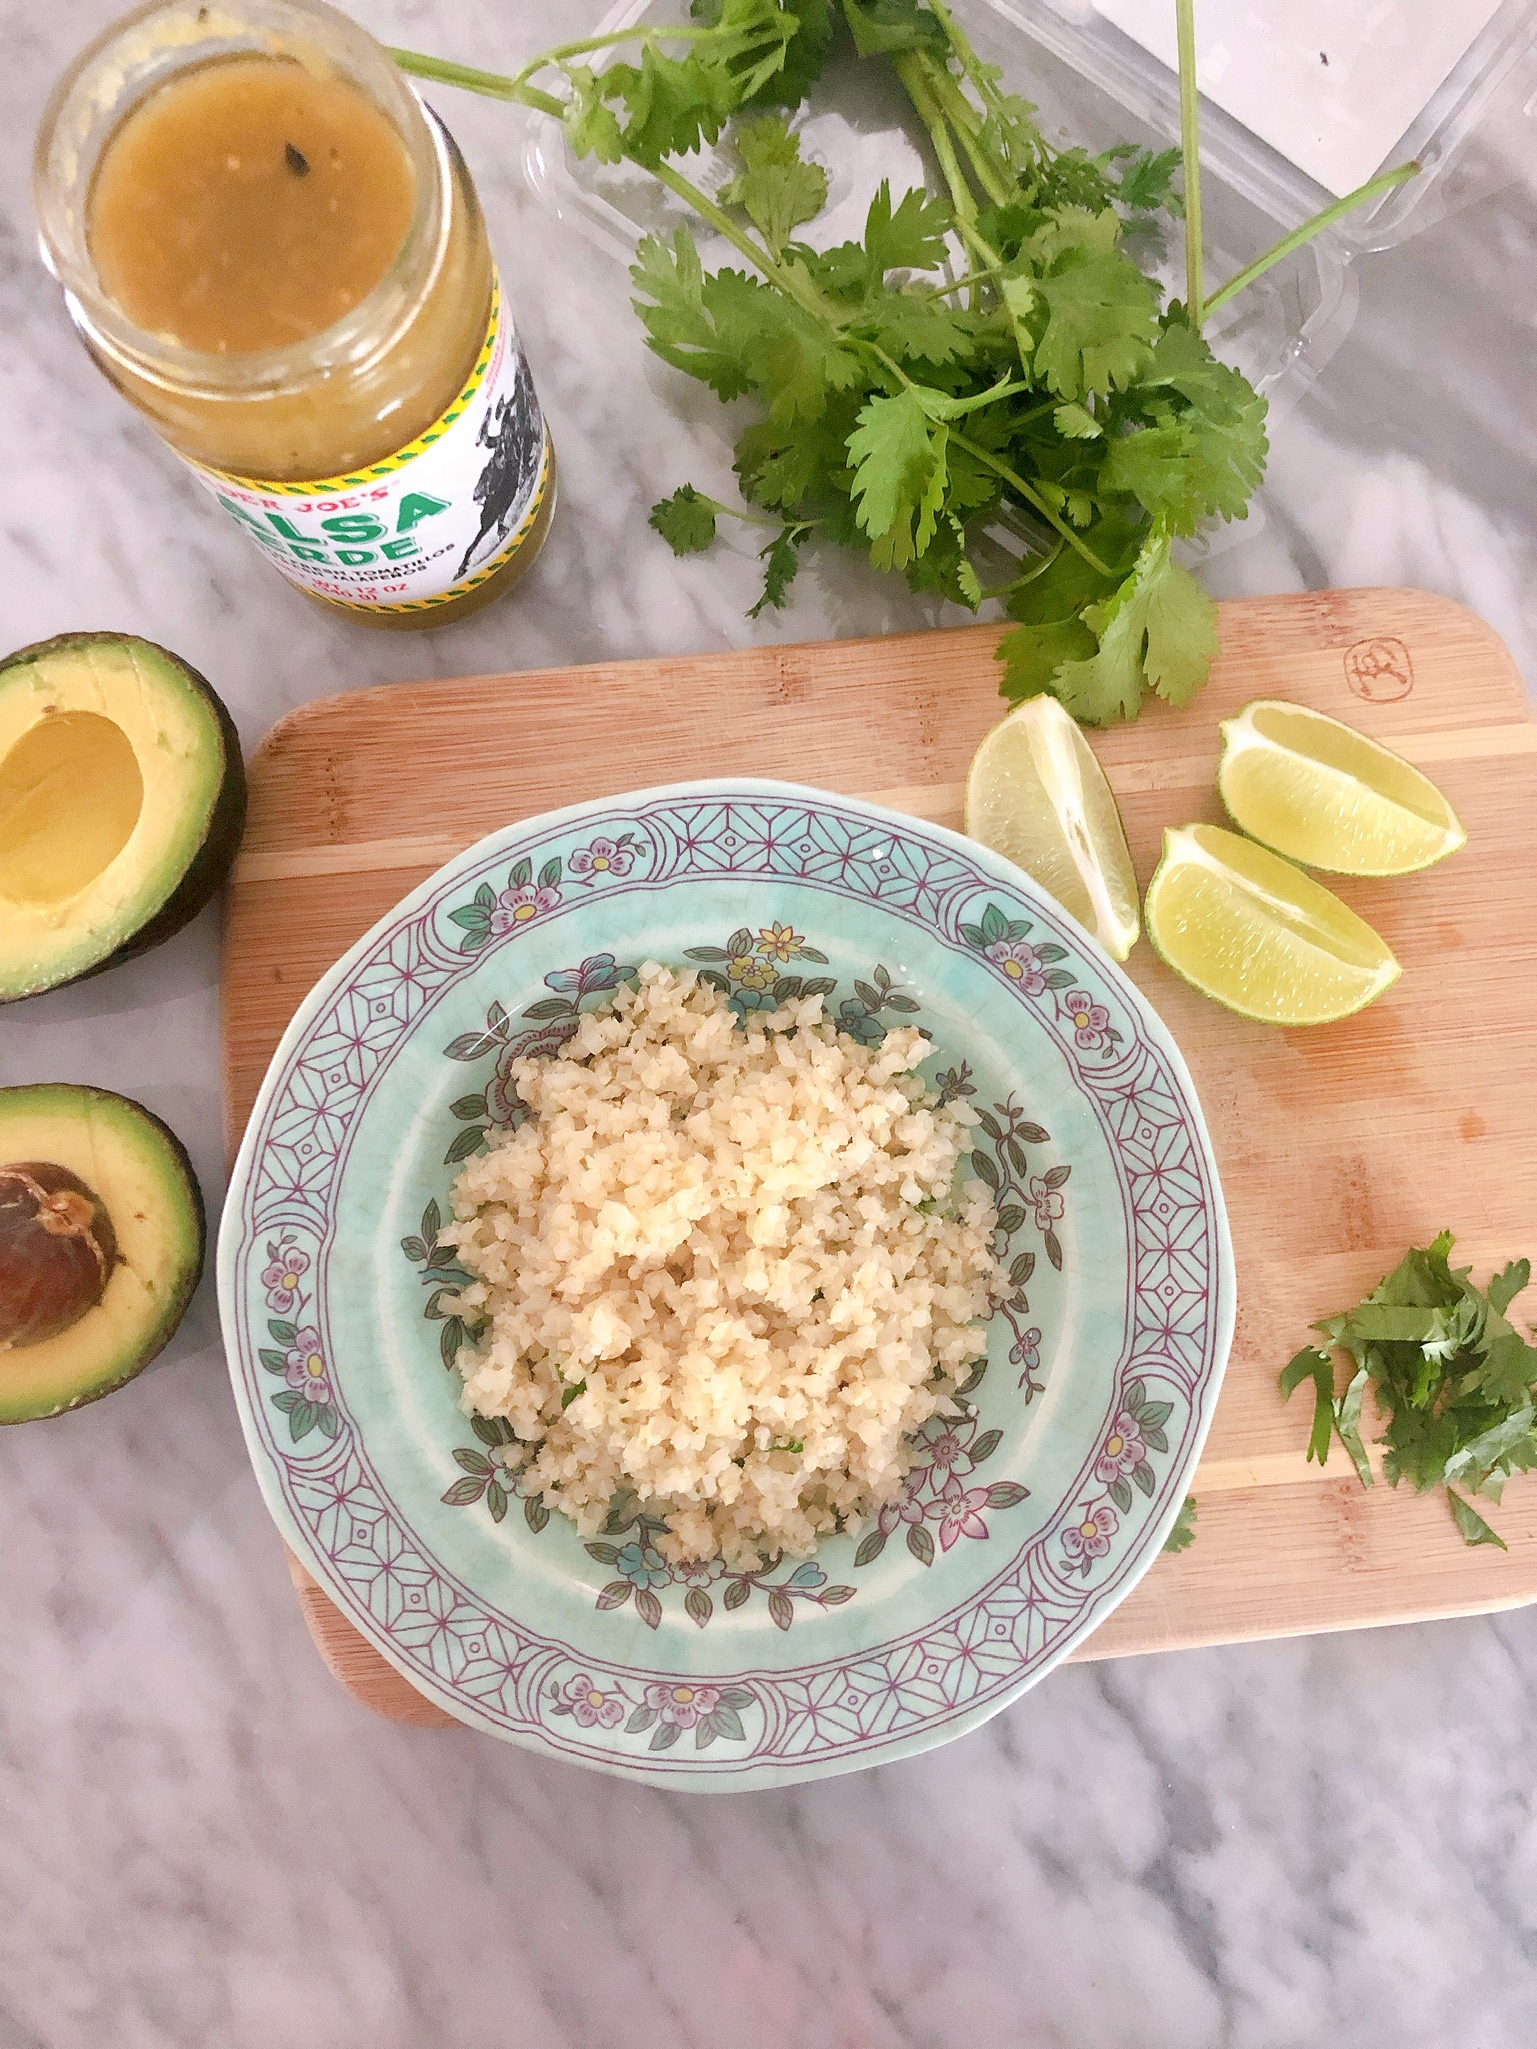
Healthy 👏easy 👏weeknight 👏meal! This dish has burrito bowl vibes, but cuts the cals with cauliflower rice. I add cumin, lime juice and fresh cilantro to the “rice” to amp it up a bit and the whole thing comes together great.

IMG_2100.JPG

I keep it green with salsa verde, lots of cilantro, lime and avocado. I’m on a black bean kick, so those were a must and add an extra protein boost next to the chicken. Considering I bought the salsa instead of making my own and used a rotisserie chicken, this dish is e a s y.

IMG_2103.JPG

Verde Chicken + Black Bean Cauliflower Rice Bowl
yields 4 servings

Ingredients:
3 cups frozen riced cauliflower
2 cups shredded chicken (rotisserie works great)
15 oz can black beans, drained and rinsed
juice of 1 lime
1 tsp. cumin
1/2 cup chopped cilantro
1 avocado
salsa verde
salt and pepper

Directions:
In a non-stick pan over medium low heat, sauté your cauliflower rice for about 3-4 minutes. You do not need any oil in the pan. Stir in the cumin, freshly squeezed lime juice and 1/4 cup chopped cilantro. Divide the “rice” evenly amongst 4 bowls. Top each bowl with chicken, black beans and salsa verde. Add avocado slices, the rest of the chopped cilantro and a pinch of salt and pepper.

IMG_2104.JPG

Annie

Mayo-Less Salmon Salad (Whole 30)

IMG_2121.JPG

Unpopular opinion, but I love tuna salad. Unpopular by many because 1. tuna. 2. mayo (yuck) 3. the smell. You can get my mayo-less whole 30 tuna salad recipe here.

Well today’s recipe is similar, but the star is salmon instead of tuna. Salmon is much more liked in the food industry it seems. However, I’d never bought canned salmon until now. Not sure why, because I just became obsessed. Being obsessed with a canned fish may be slightly concerning, but I’m going with it.

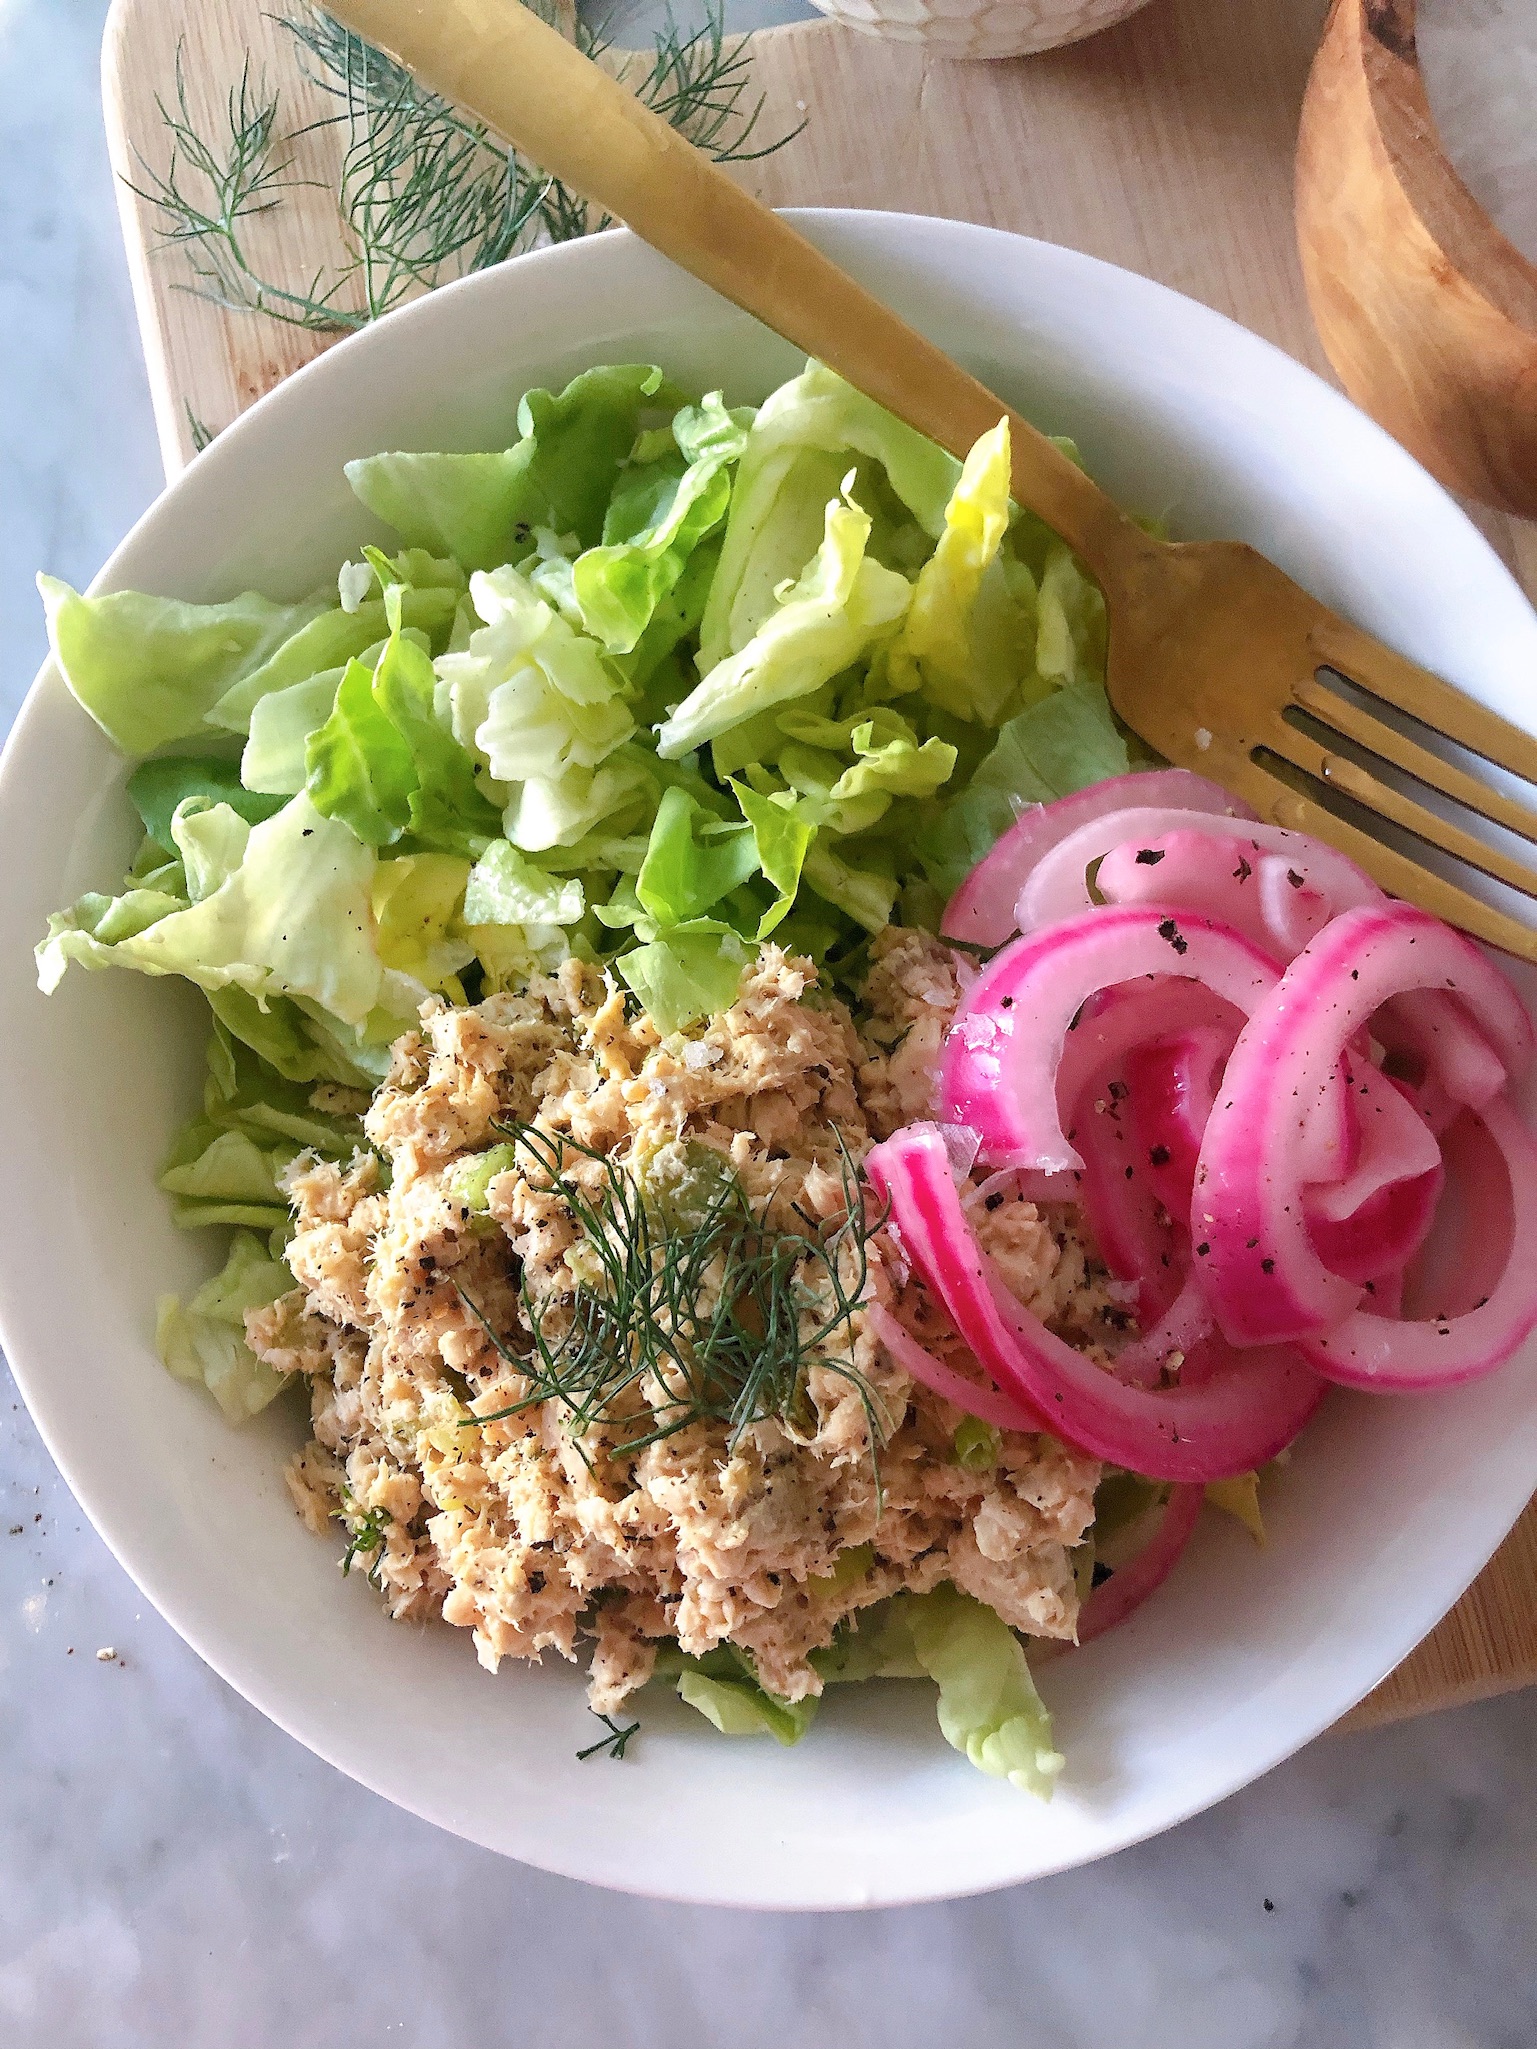
This recipe is giving my weekday lunches life right now. Just like my tuna salad recipe this is free of mayo, but the best part is it’s free of the stench that tuna has. Your office mates will thank you! Classic salmon flavors like dill and lemon are added to really bring it full circle.

IMG_2122.JPG

Salmon Salad
yields 3 servings

Ingredients:
12 oz wild pink salmon, no salt added
1/4 cup dijon mustard
Juice of 1/2 a lemon
1 tbsp. pickle juice
1/4 cup pickles, finely chopped*
1/4 cup green onions, finely chopped
2 tbsp. fresh dill, chopped
1/4 tsp. paprika
salt and pepper to taste

Directions:
Drain your cans of salmon and add to a medium size bowl. Fluff the salmon with a fork. Add the mustard and pickle juice and stir to combine. Add the pickles, green onions, dill and paprika. Season with salt and pepper. Taste and add more seasoning or mustard if needed.

Serve with butter lettuce and pickled red onions. I also love eating mine with GG crackers.

*If you don’t like pickles, celery would be great here

fullsizeoutput_76fd.jpeg

Annie

Quick Pickled Red Onions

IMG_2118.JPG

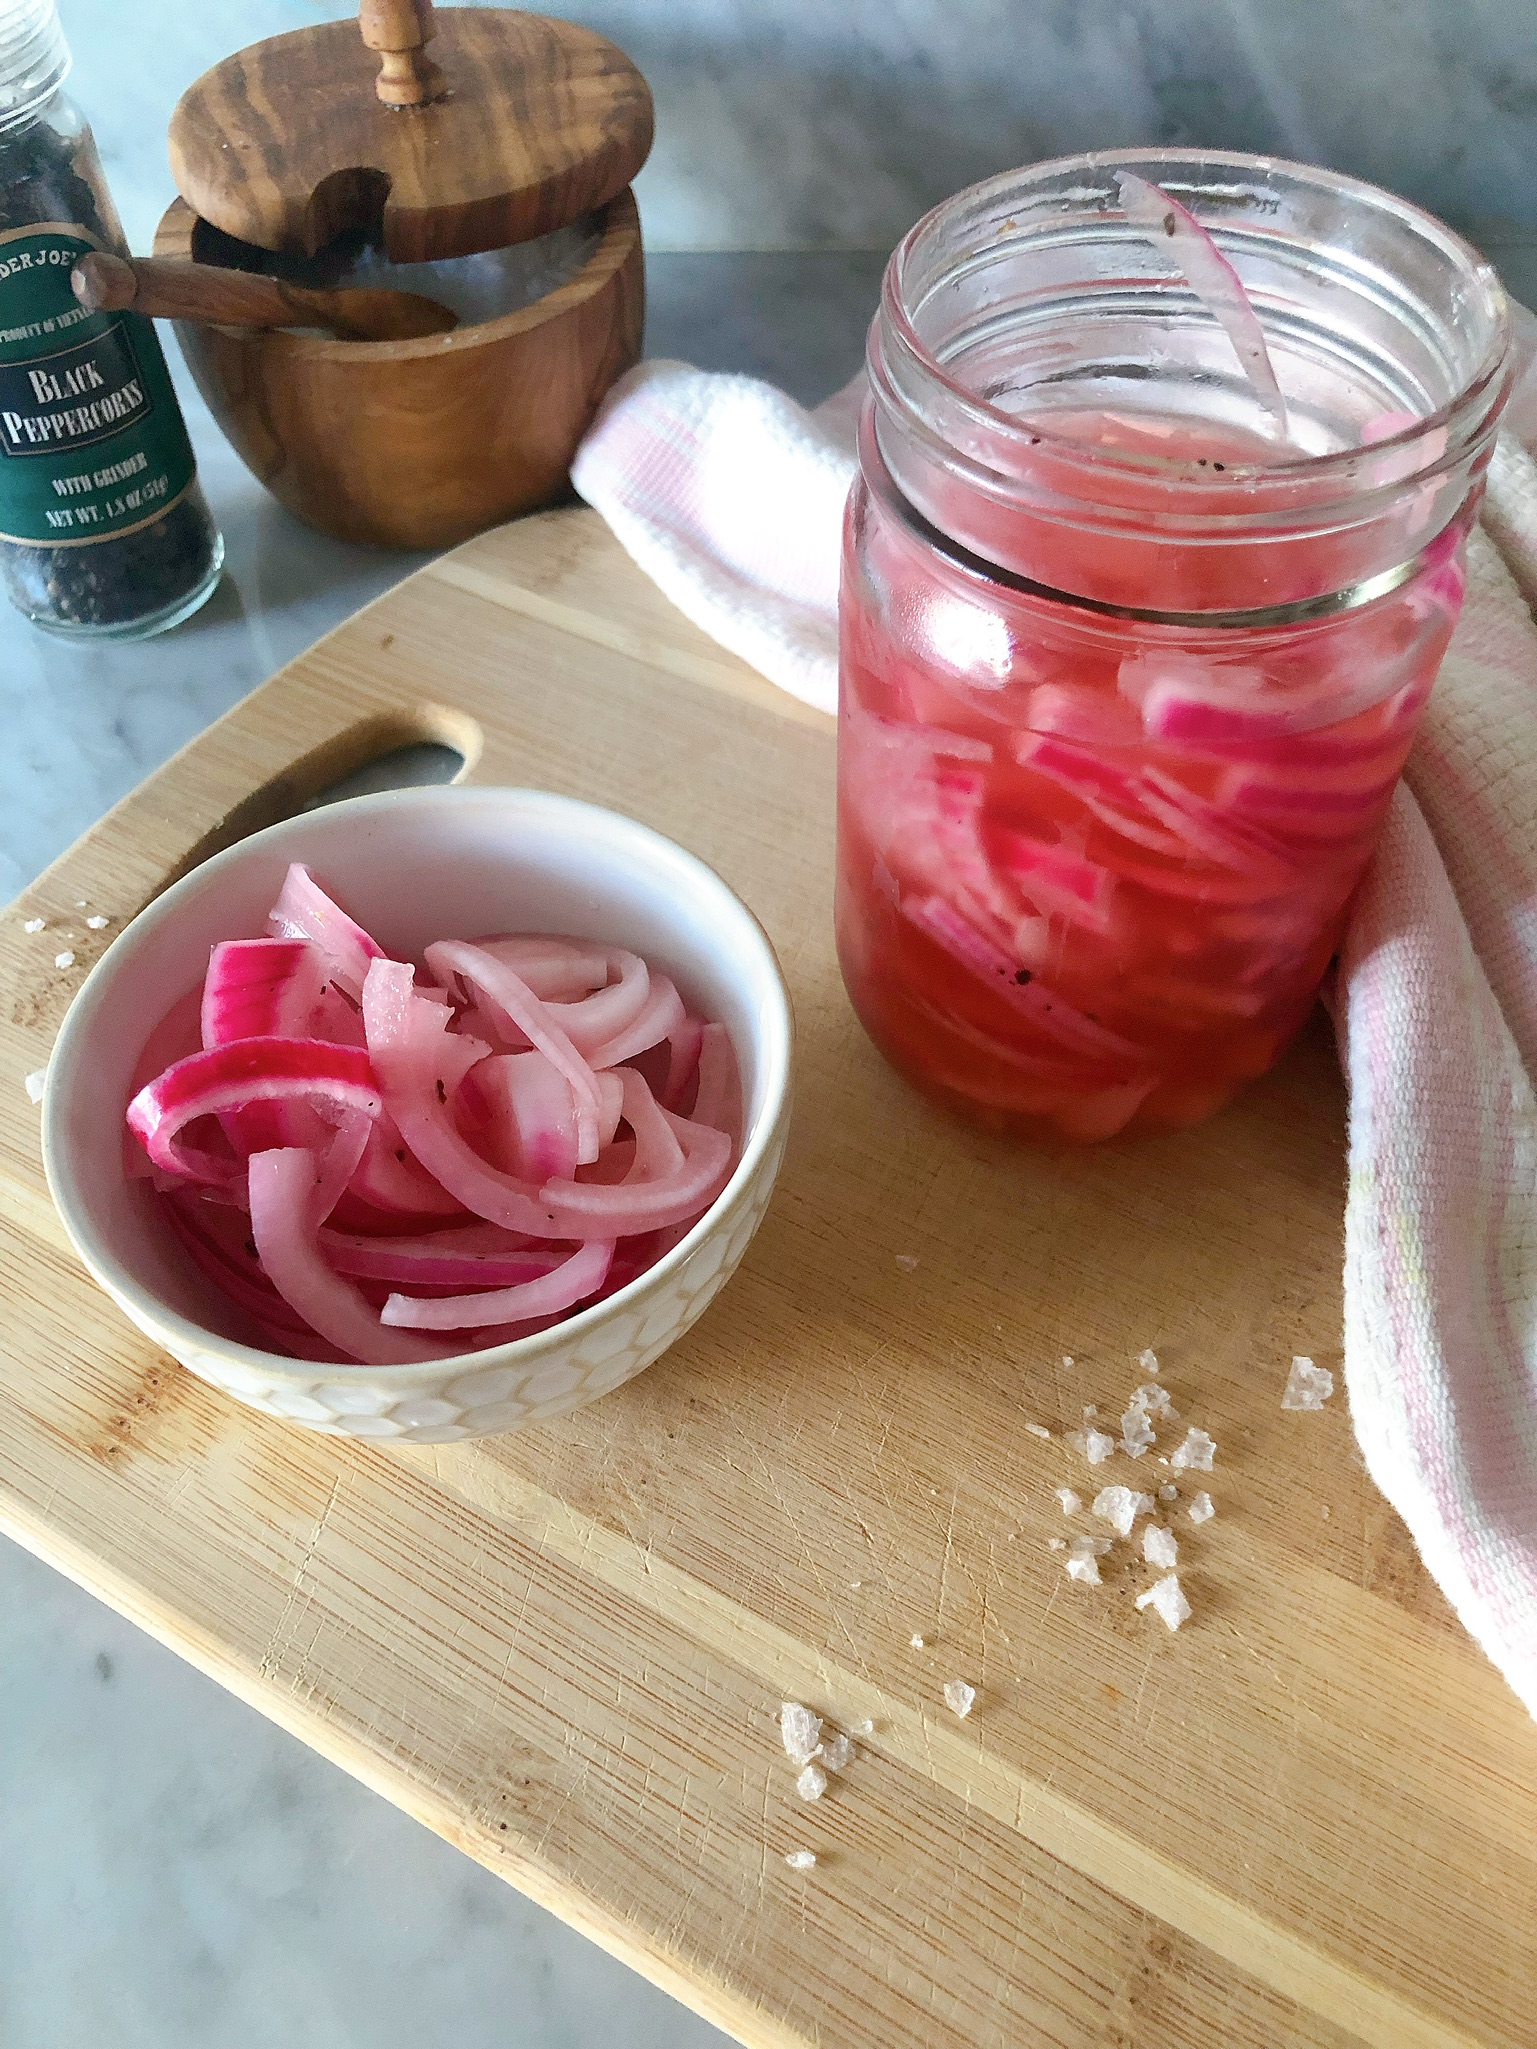
I love pickled red onions. They make any salad, taco or grain bowl so much better than just raw onions. Not to mention the bright pink hue gives dishes such a good pop of color. This recipe calls for only a few ingredients (+ no sugar unlike most recipes) and will give you pickled red onions in one hour.

IMG_2117.JPG

Quick Pickled Red Onions

Ingredients:
1/2 cup apple cider vinegar
1/2 cup water
1 medium red onion
fresh ground pepper
sea salt

Directions:
Cut your onion in half (see where in video below). Peel off outer skin. Slice into thin slices. Place slices in a 16 ounce mason jar. Pour in your apple cider vinegar and water. Add a little bit of fresh ground pepper and a big pinch of salt. Put on the lid and give your onions a shake. Place in the fridge for at least one hour. You will then have bright pink onions!

Will stay in the fridge for up to two weeks.

Annie

P.S. try them on salmon salad or pork carnitas